
In the following video we explain, from Mayor, step by step, how to correctly and easily install porcelain stoneware steps for the construction of stairs, obtaining a high-quality result. We also remind you of the importance of safety when building stairs and, therefore, the need to install C3 non-slip porcelain stoneware in this type of construction.
Placement
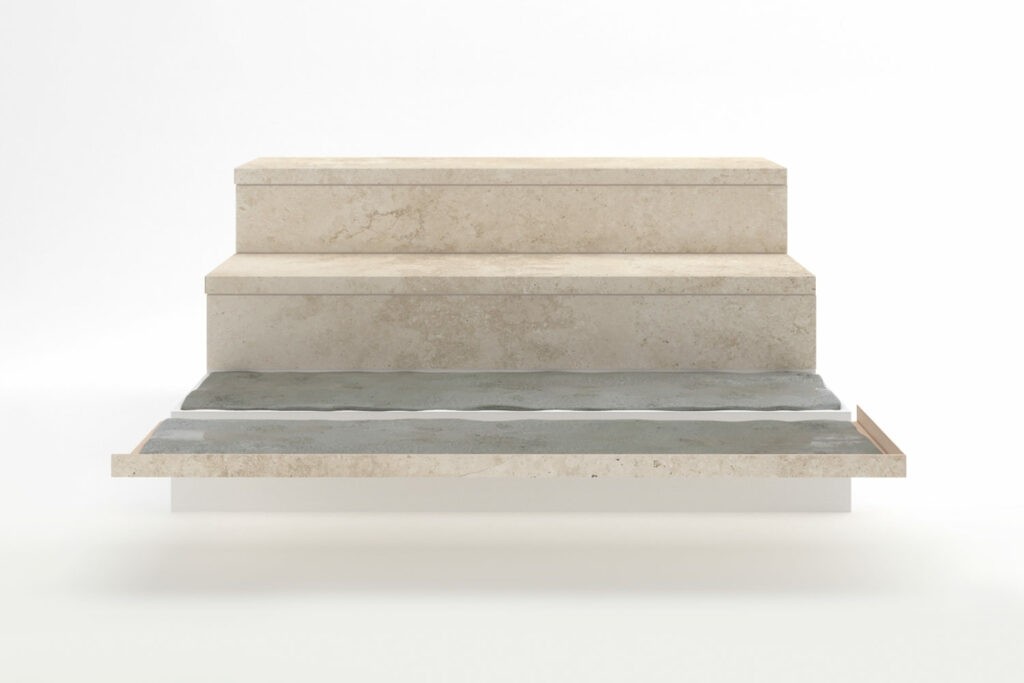
Placement of steps
By loading this video, you agree to the privacy policy of Youtube.
Procedure for placement
Preparation of materials
- Grip cement
- Spirit level and measuring elements
- Levelling wedges
- Auto-levelling spacers
- Grouting material
- Trowel
- Serrated trowel
- Cleaning products
Check the correct levelling of the support
On terraces and outdoor spaces it is very important to drain water correctly to prevent it from stagnating on the surface. Cerámica Mayor recommends the following:
– It is essential to provide a minimum slop of between 1-3%.
– Sufficient drainage channels should be installed to avoid rainwater drainage problems.
– The ground must be properly waterproofed and drained to prevent water rising by capillary action.
– Levelling mortar or also known as self-levelling mortar must be used to achieve a solid substrate ready to receive the stoneware tiles.
Surface cleanliness
The surface must be checked to ensure that it is free of other materials such as cement residues, grease, dust, etc.
Laying out the surface
In order to avoid the wastage of material, a main line should be established from which the tile installation will begin. In the layout, the following must be taken into account:
– Perimeter joints: These should be > 5.00mm.
– Structural joints: These shall coincide with the structural joints of the building and shall be at least 10mm and be made of a flexible material.
– Partition joint: In areas between 20-30m² or 6-8ml a partition joint of > 5.00mm will be required.
– Tile joints: For the installation of Rectified Material, a tile joint >2.50mm is required. For the installation of Not Rectified Material is necessary a tile joint >4.00mm, and in addition, they shall be
installed in a random laying or herringbone manner (they shall not be installed at more than 1 / 4 of their dimension).
Choice and installation of the bonding material
The adhesive material to be used shall be C-2 TE S2 flexible cementitious adhesive suitable for the installation of porcelain stoneware flooring.
C: Cementitious adhesive
2: Improved adhesive
T: Reduced slip adhesive
E: Adhesive with extended open time
S2: Highly deformable adhesive
Once the mixture has been prepared according to the product manufacturer’s instructions, spread the bonding cement on the previously compacted and levelled surface with the help of a notched trowel.
The bonding cement should also be spread on the back of the workpiece with a notched trowel, thus creating a double bond.
Installation of the ceramic tile
With the help of a flexible rubber mallet, the ceramic tile will be fixed, eliminating possible air bubbles produced by the bonding material.
Choice and installation of grout
The grout material to be used in the perimeter joints, tile joints and partition joints shall be CG2 type improved cementitious grout. Once the mixture has been prepared, following the product manufacturer’s instructions, spread the grout between the separation of the pieces and fix it with the help of a grout trowel.
Placement of trim
In this short video, from Mayor, we explain in a simple, step by step way the process for fitting trim pieces in a swimming pool, providing quality finishes. In addition, trim pieces contribute to the safety of users by avoiding sharp angles. We also recommend installing non-slip porcelain stoneware, one of our distinctive features, in this type of aquatic construction.
This material is resistant to chemical products, a characteristic to take into account when installing ceramic tiles inside swimming pools, as it will resist water maintenance products.
By loading this video, you agree to the privacy policy of Youtube.